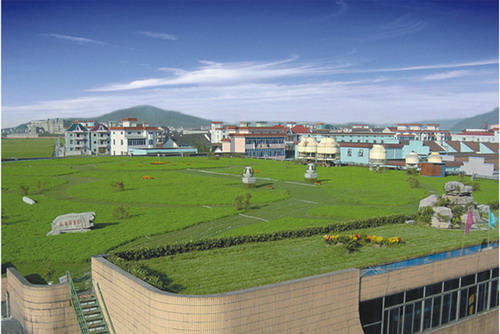
Do U Know What a Real Green Roof Is?
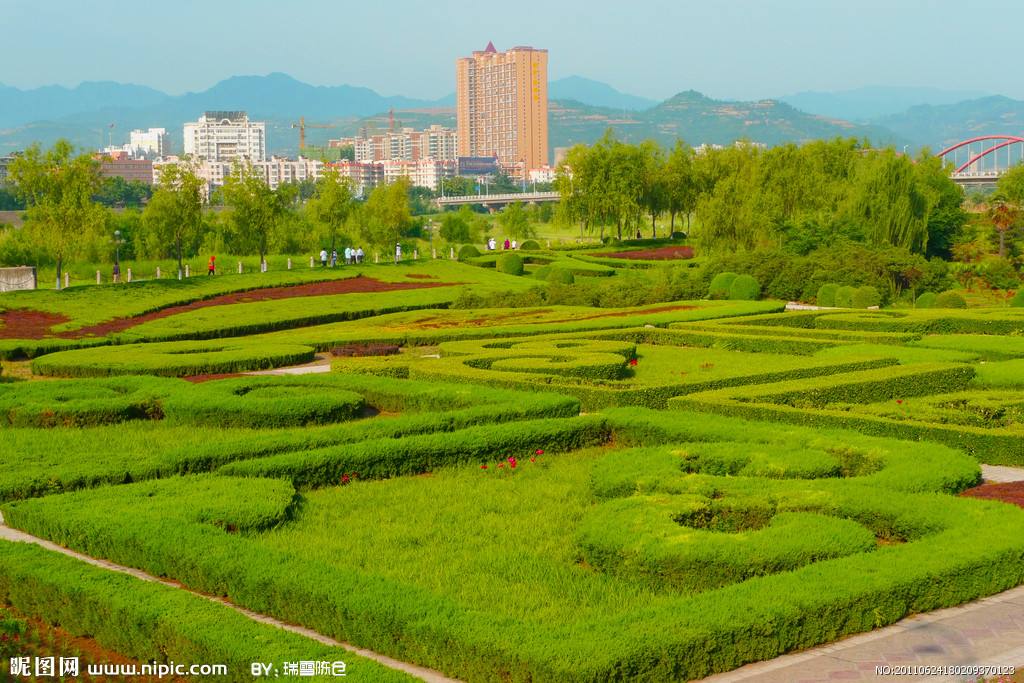
Green roofs are a great way to cool a building while adding a carbon dioxide magnet to underutilized space. If more of them are installed in our cities, they can have a major impact on storm water management. They can impact global warming by cooling hot cityscapes. For individuals, green roofs serve multiple purposes, from simply working as environmentally friendly insulation to functioning as a vegetable garden or a site for recreation.
Green roofs are not roof gardens. The typical roof garden consists of containerized plants. A green roof is an integrated structure that allows even drainage and more consistent weight distribution across the entire roof. Does this Spark an idea?
Instructions
-
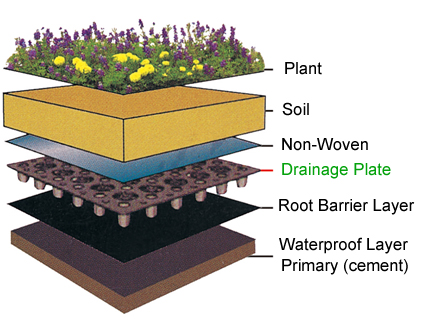
Start with a waterproof membrane. This step is essential. Most roofs fail because of water damage. Today there are several waterproof options from asphalt, to sheeting to membranes that go on as a liquid.
-
Add a root barrier. If you use an organic water-proof barrier such as asphalt, you should install an additional layer so that plants won’t work their roots through it looking for nutrients. Concrete is one choice. Another is cellular glass which has the additional benefit of acting as a layer of insulation.
-
Put in a drainage layer. A drainage layer is essential to carry away excess water to gutters so that it can be carried away from the roof. Typical drainage layers are made of gravel and pumice. The drainage capacity of your material has to increase closer to the gutters and roof drains.
-
Add a filter fabric The fabric has to be porous enough to allow water to flow down into the drainage area while holding the soil or growing medium in place. Roots will penetrate this layer. Typical materials are polyester or polypropylene.
-
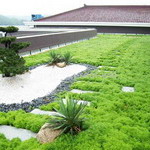
Put in a growing medium. You can use local soil, but this runs the risk of introducing weeds or pathogens. Most green roofs will use a mix of mostly inorganic components like crushed clay or sand with cleaned top soil and humus to supply plant nutrients. The thinner the soil, the harder your plants will have to work. Many experts recommend a soil depth of at least three inches.
-
Install drip irrigation. This is very important for the first year. Drip irrigation will apply water to where it is needed to the roots of the plants. It’s more efficient than taking a hose to your roof, using less water, which also means less weight on your roof. Drip irrigation is an easy way to supply fertilizer to your plants to get them started. Ultimately if you’ve chosen the appropriate plants for your climate, you’ll be able to turn off the irrigation system.
-
Add plants. Be sure to choose the appropriate plants for your local environment. Factors to consider involve tolerance to sun, frost, heat and drought and wind. You want low maintenance. Trees and bushes on your roof can add impact, but even small trees need a soil depth of a couple of feet. Load stress has to be considered, because winds will apply greater pressure to a tree then to grass or flowers.
-
Top with a wind blanket. This is a biodegradable mesh like jute that will limit wind erosion while your plants are establishing themselves.
-
Tips & Warnings
It’s a good idea to have your roof examined by a structural engineer to determine its weight bearing capacity, which must be figured with the growing medium is fully saturated. This is particularly important in the Frost Belt where snow or ice can tip the scale against you.